K
K
Katy932021-02-19 14:56:30
Figma
Katy93, 2021-02-19 14:56:30

How to make button animation in Figma?

On the Internet I found several videos on button animation, the authors copy the frame each time and change the design of the button in the second frame, and then simply specify the Prototype. Here is an example of button animation.
animate button
And here is a video from YouTube.
Figma Smart Animate.
Question: Is there another way to make animation, for example, using rectangle instead of frames, otherwise copying frames with all the components inside is impractical every time?

Answer the question

In order to leave comments, you need to log in

2 answer(s)
U
UNFAMIILIAR1, 2021-06-01
@UNFAMIILIAR1

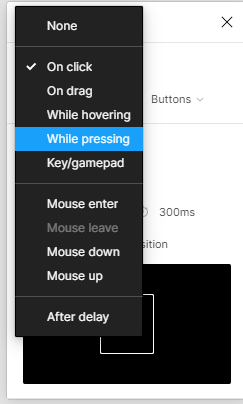
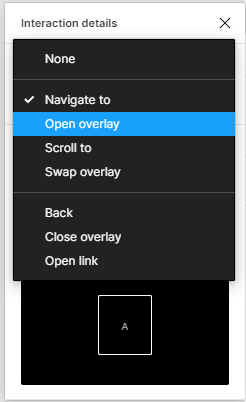
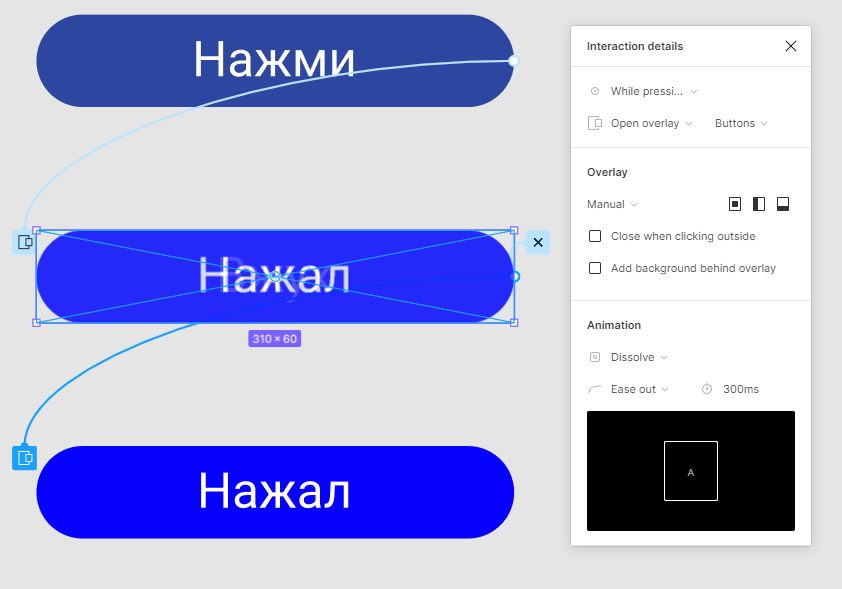
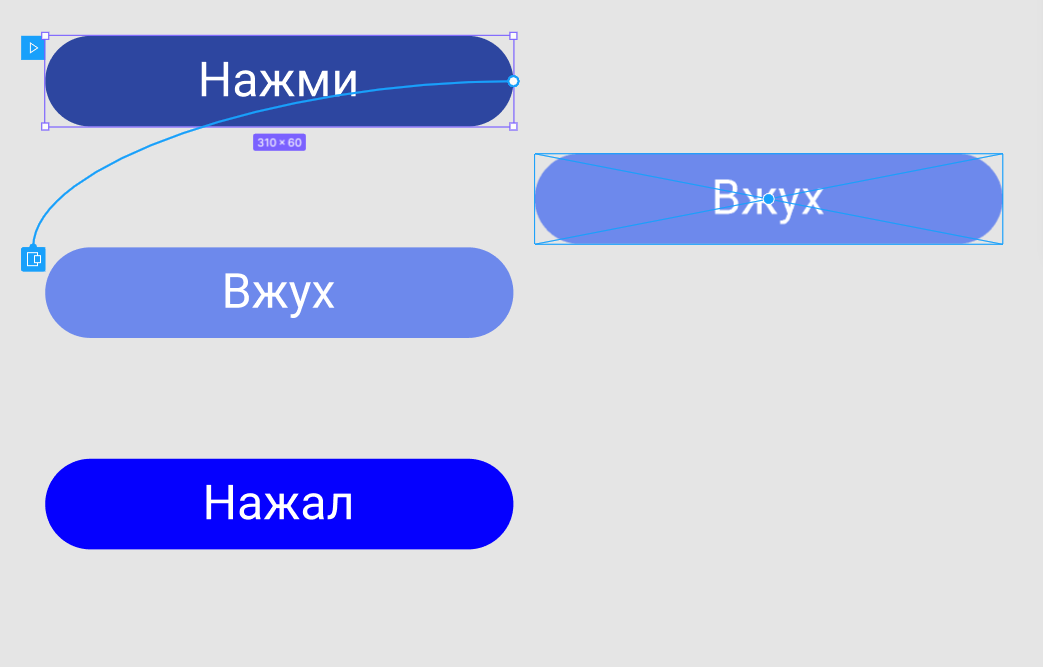
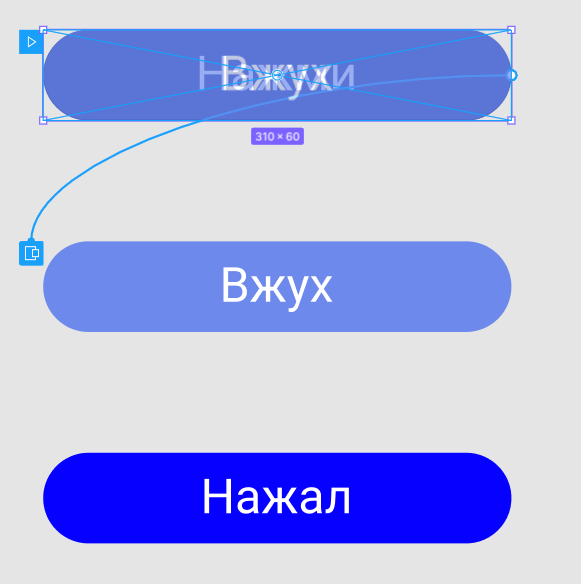
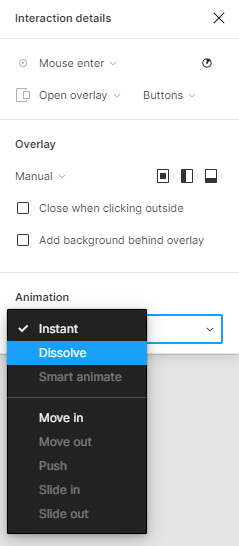
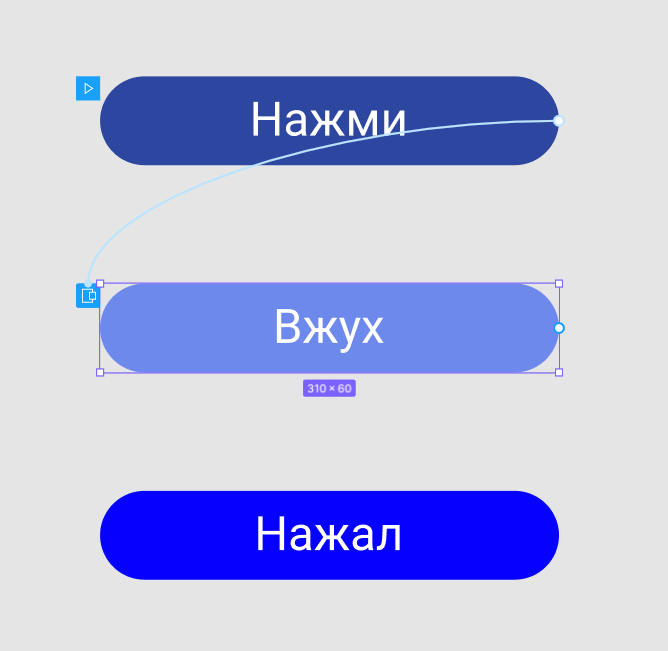
9. Now we need to display the pressed button when pressed. To do this, we need to stay in the Prototype of the hover button and add one more interactivity to it. Click on the circle with a plus to the right of the hover button and drag it to the pressed button. Next, instead of "On click" we put "While pressing" (when pressed). And instead of "Navigate to" select "Open overlay". Also, do not forget to set the position of the overlay to Manual, which I wrote about above in paragraph 5. And also set the Dissolve animation for it.
60b60b3945865131452146.png
60b60b414c273915422840.png
60b60b49bdf8a522166915.png
60b60b5ba43d5057715370.png
Important! Also don't forget to check the pressed button in the Prototype panel. It should have interactivity, which I described in paragraph 8. I'll leave a detailed screenshot below.
60b60b6ee49db498716144.png

60b60cb1d810a973769007.png
Yes, everything is working correctly. We add interactivity to the rest of the button options and place them on the layout.
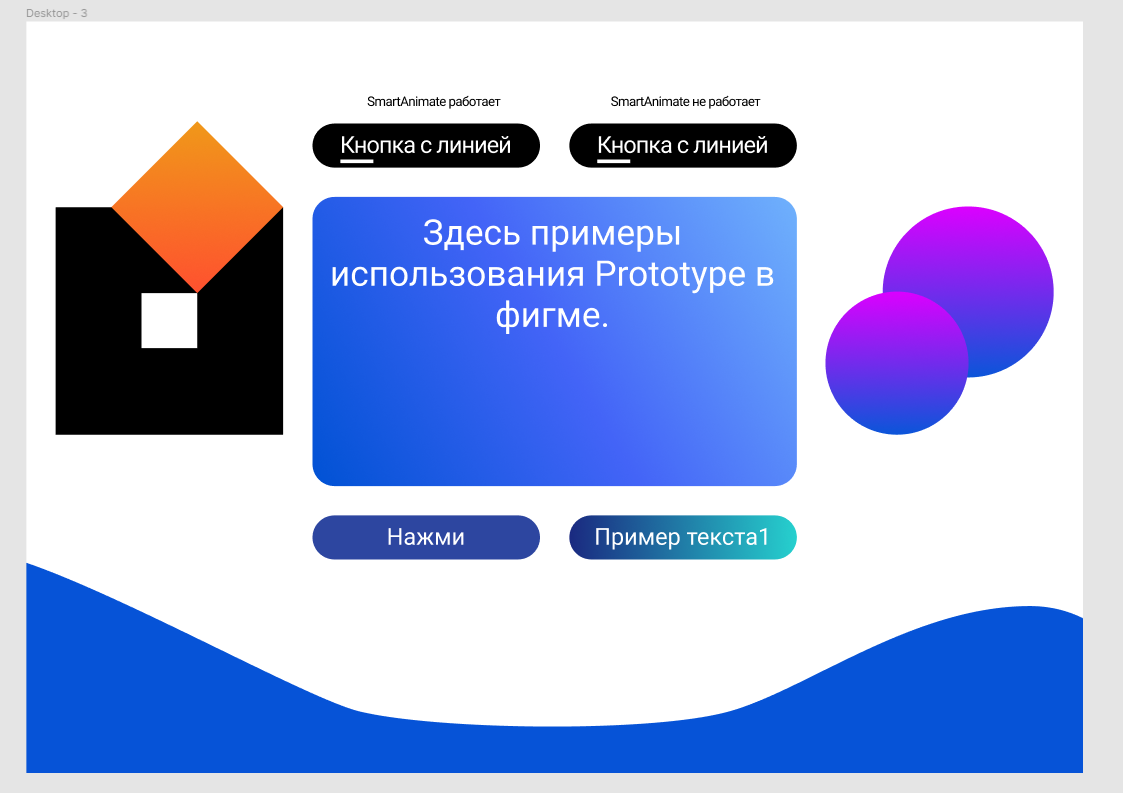
60b60f0746702237006121.png
Don't worry, I'll leave my work if you can see how everything works for me.
You can transfer my project to your Drafts. To do this, click on the project name at the top and select "Duplicate to your Drafts". After that, you have a copy of my project in Drafts, with which you can interact.
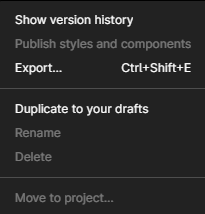
60b6115b6f35f506022486.png
Link to my project in Figma:
https://www.figma.com/file/hN9qiK1VBDfmRdk0UTvrHn/...
The third option for creating buttons (still in beta test):
https://www.youtube.com/watch?v= TKaecvutJq4 I
will also leave a link to create button options from the developers of figma:
https://www.figma.com/community/file/903303571898472063
I hope I helped you with my detailed answer, for which I had to create a second account (●'◡'●).
Good luck!

U
UNFAMIILIAR, 2021-06-01
@UNFAMIILIAR

Hello Katy93 !
Very interesting question!
*Me 4 hours later .·´¯`(>▂<)´¯`·. *
60b616487b208169403230.png
I know three options for creating such buttons. The first one you learned from the videos. I will talk about the second one, which I use and a little bit about the third one.
Second option:
1) With the help of an overlay (Open overlay/Close overlay)
+ You can set a simple animation.
- Smartanimate does not work. For example smooth lines will not be drawn as shown in the cutscenes in your question.
In order to do it, you need to:
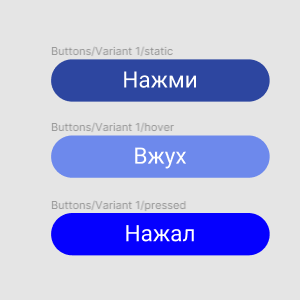
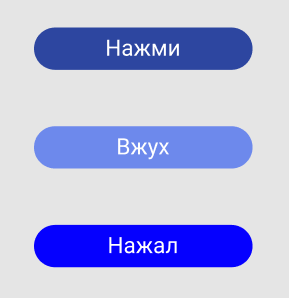
1. Create buttons:
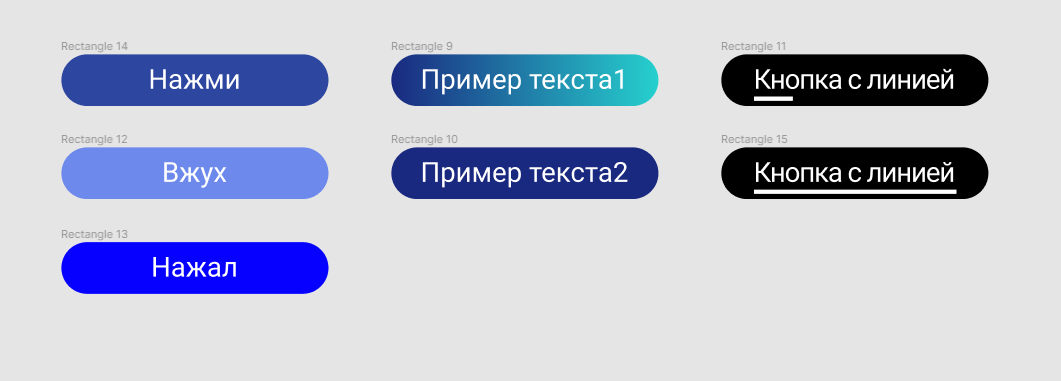
  • Static button (static);
  • On hover (hover);
  • When pressed.

60b5d414b983f153861792.png
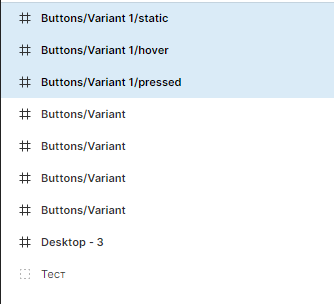
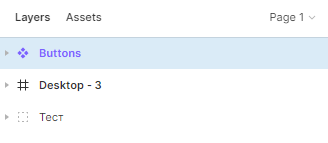
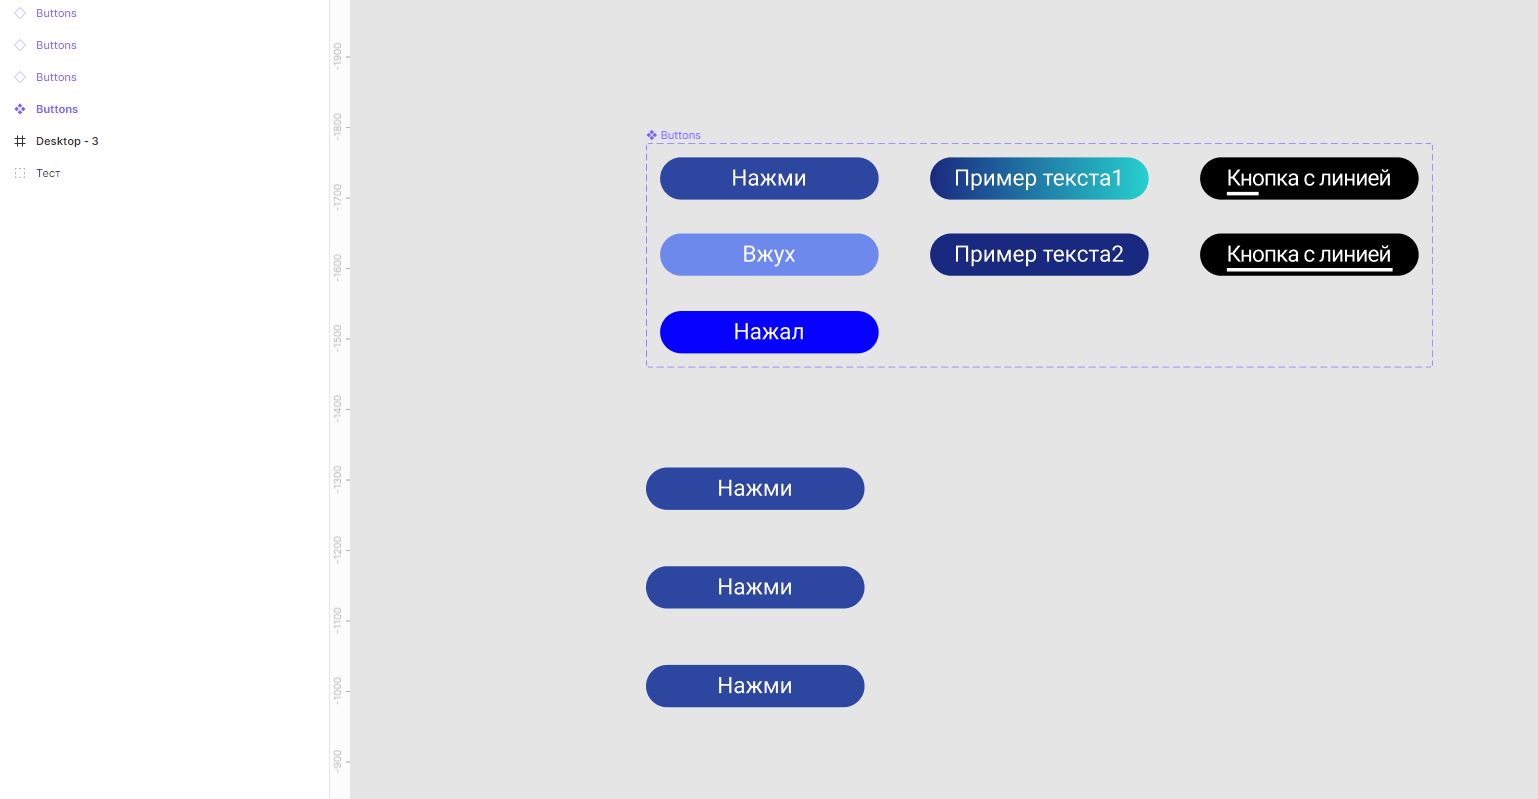
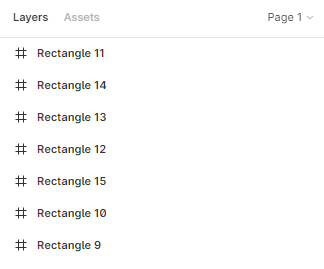
And this is how they should look in the layers panel.
60b5d4454ed5c875445469.png
(collapsed)
60b5d5a0f17a0685395068.png
(expanded)
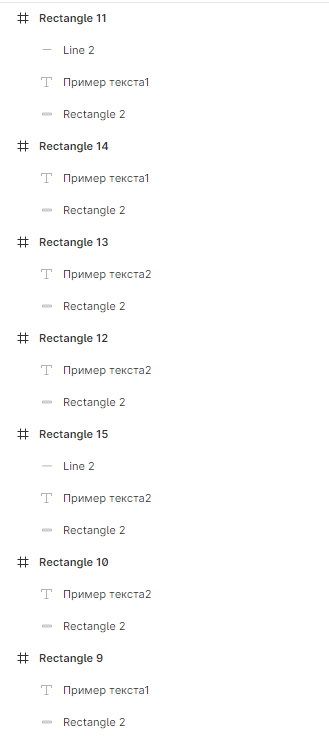
2. So, now let's rename them.
We select all our buttons and press the key combination CTRL + R.
60b5d6a132483330569214.png
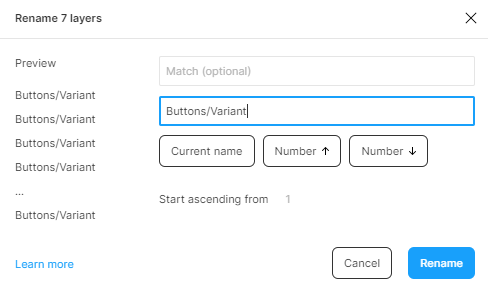
I do this in order to combine all the buttons under a single component.
To do this, in the second field "Rename to" I write: "Buttons /". Yes, I put a slash at the end of the name to just combine them into a single component. And I add "Variant" without a slash at the end, this is necessary so that you can then substitute a number and a slash. As a result, I get: "Buttons / Variant".
And I click Rename.
60b5e18dbc145141799848.png
60b5e19ca5274894337482.png
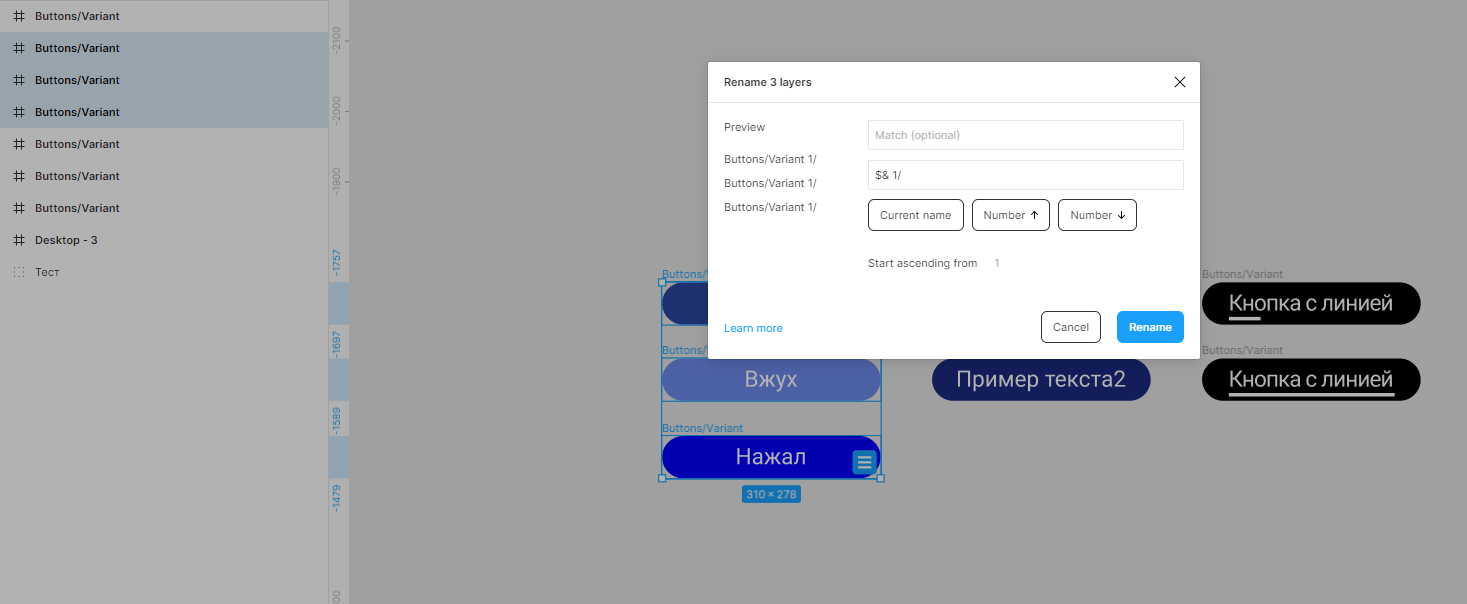
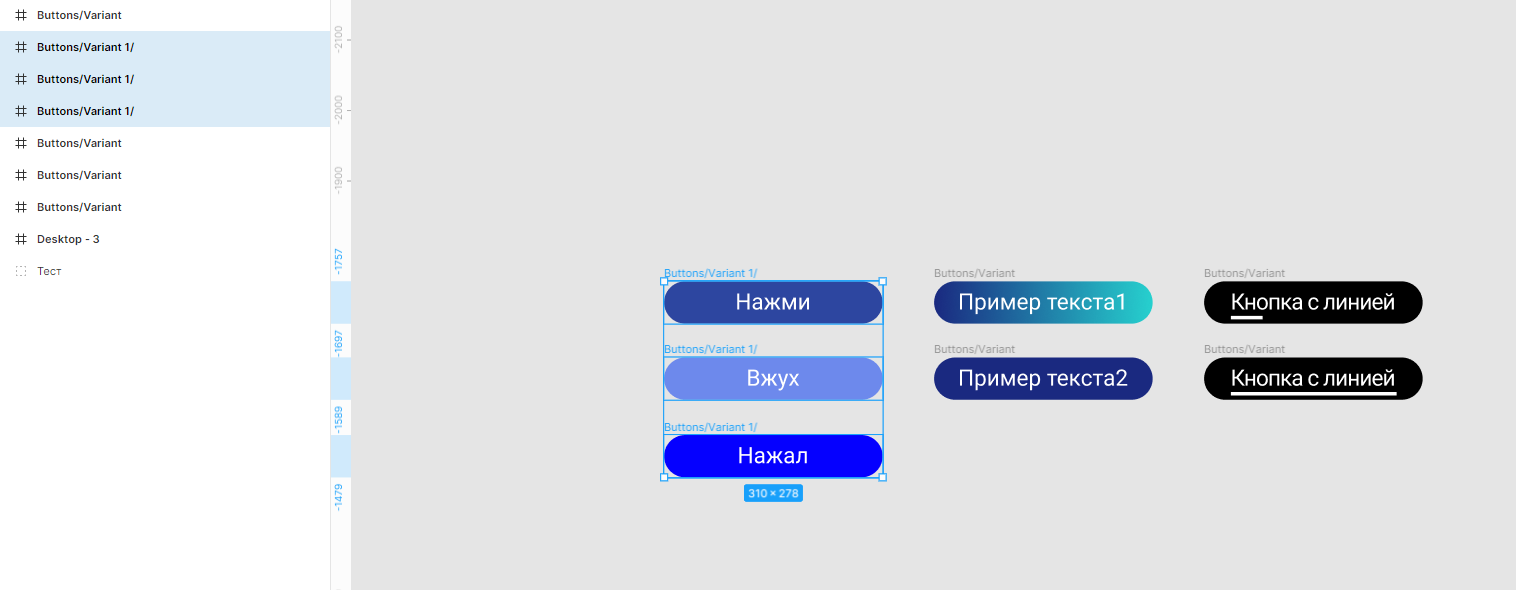
3. I select the first group of buttons and again press the key combination CTRL + R. Then I press "Current name" so that it takes the current name of the buttons and sign "1" and at the end we put a "/" slash to indicate that Variant 1 is a group with which we will work further. As a result, I have written: "$& 1/".
I click Rename.
60b5e48b3db47032600269.png
60b5e49237cb4720023194.png
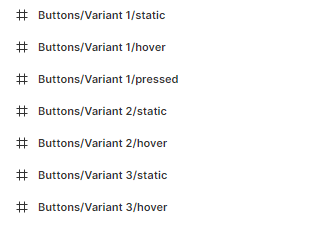
4. Next, I highlight the first button in Option 1 and sign after the slash "static". To the second button I sign "hover". To the third "pressed".
60b5e5ea99bfa740447145.png
60b5e5f1771f1563574407.png
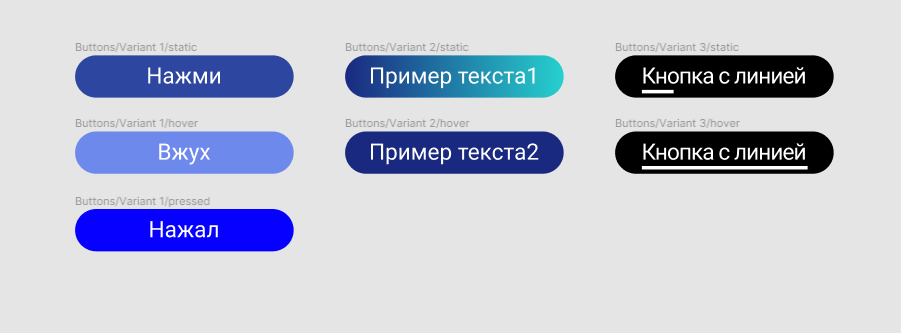
5. I repeat points 3 and 4 for the remaining groups of buttons. Those. Variant 2 and Variant 3. Which will only have two types of buttons, static and hover.
Important! according to the rules for creating button options, I made a mistake. Variant 2 and Variant 3 do not have the pressed button option, while Variant 1 does. Next, I will show where this error occurs. Don't forget to create all button variations!
60b5e82a0782a999013346.png
60b5e82f69ea8591134542.png
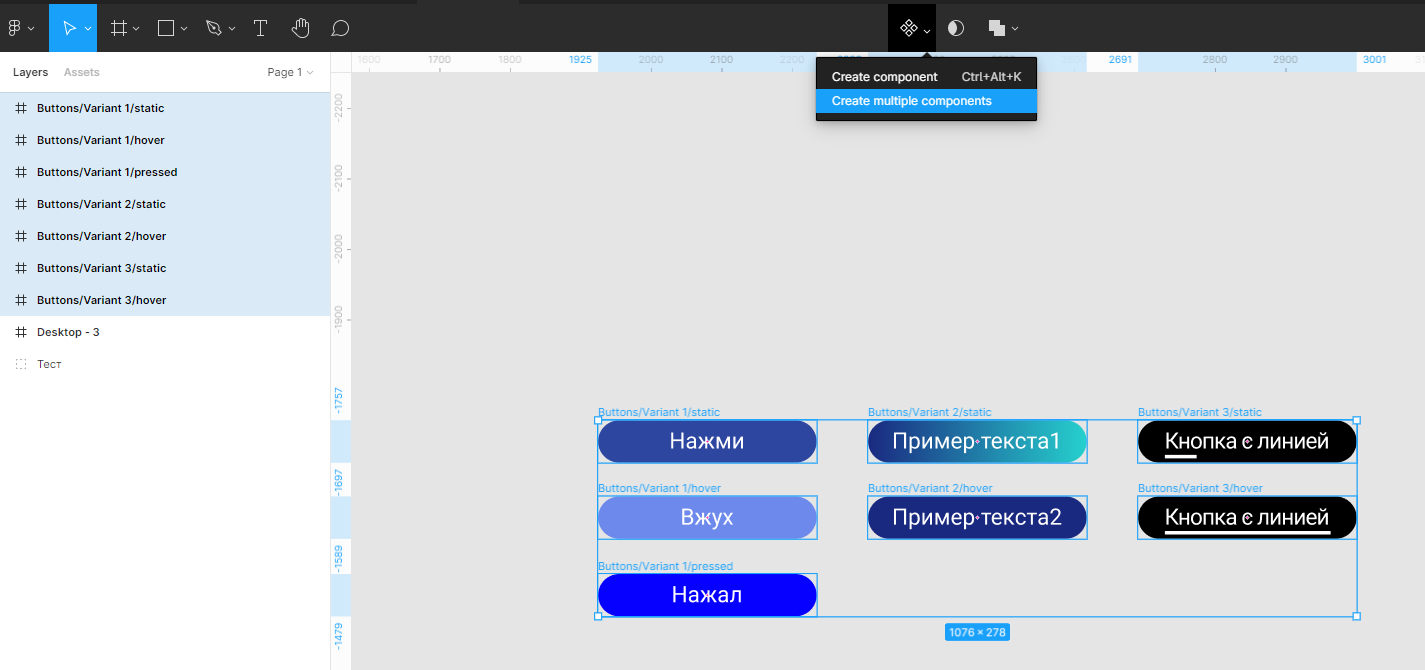
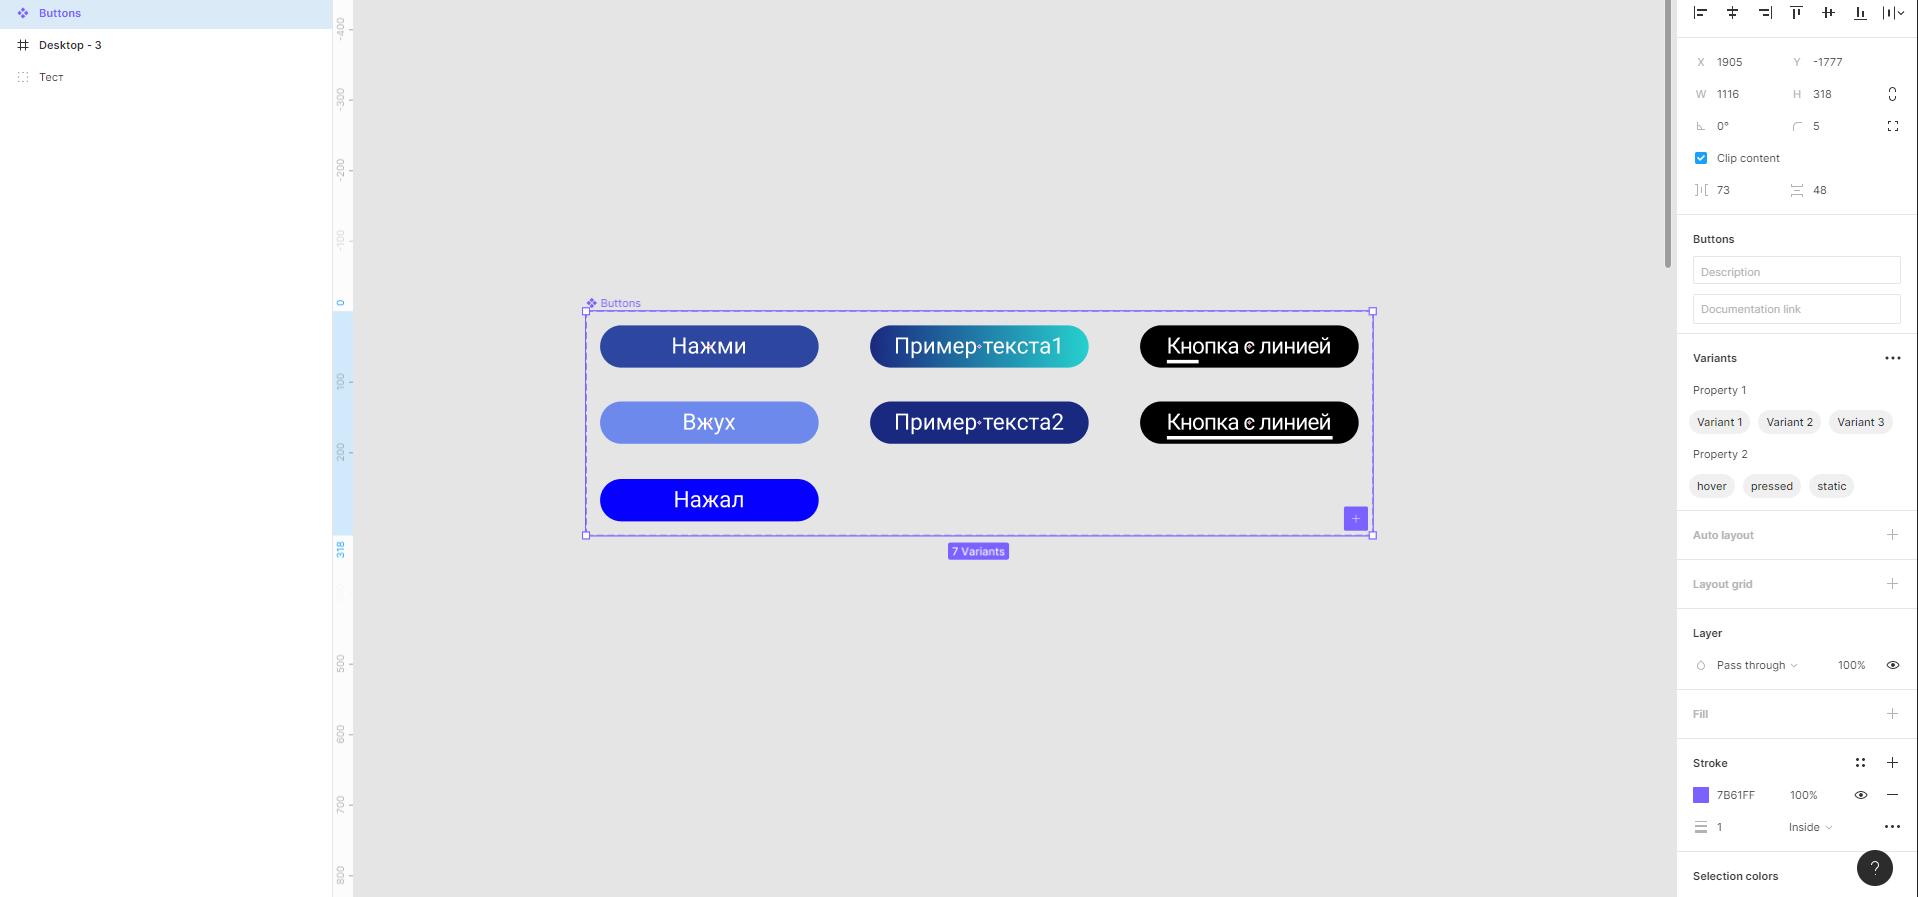
6. Next, select all the buttons and click on the top "Create multiple components". With us, each button will become a separate component. On the right, click "Combine as variants". And we see that all the buttons fit into a single group called Buttons.
60b5eb603f61f601470491.png
60b5eb67d8087644398168.png
60b5eb71c29d4093374837.png
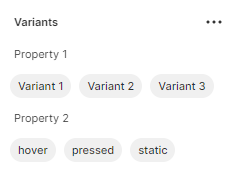
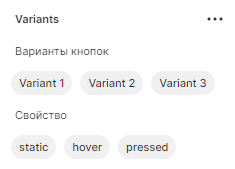
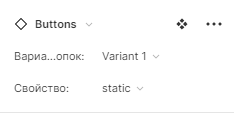
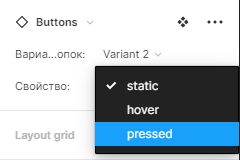
7. We slightly change the right panel of options so that it is convenient to navigate when choosing the desired button.
60b5ed13c0657506260940.png
I think it will be better.
60b5ed964464d032790764.png
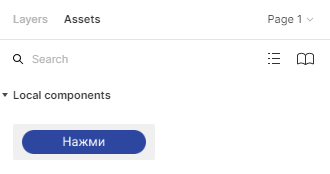
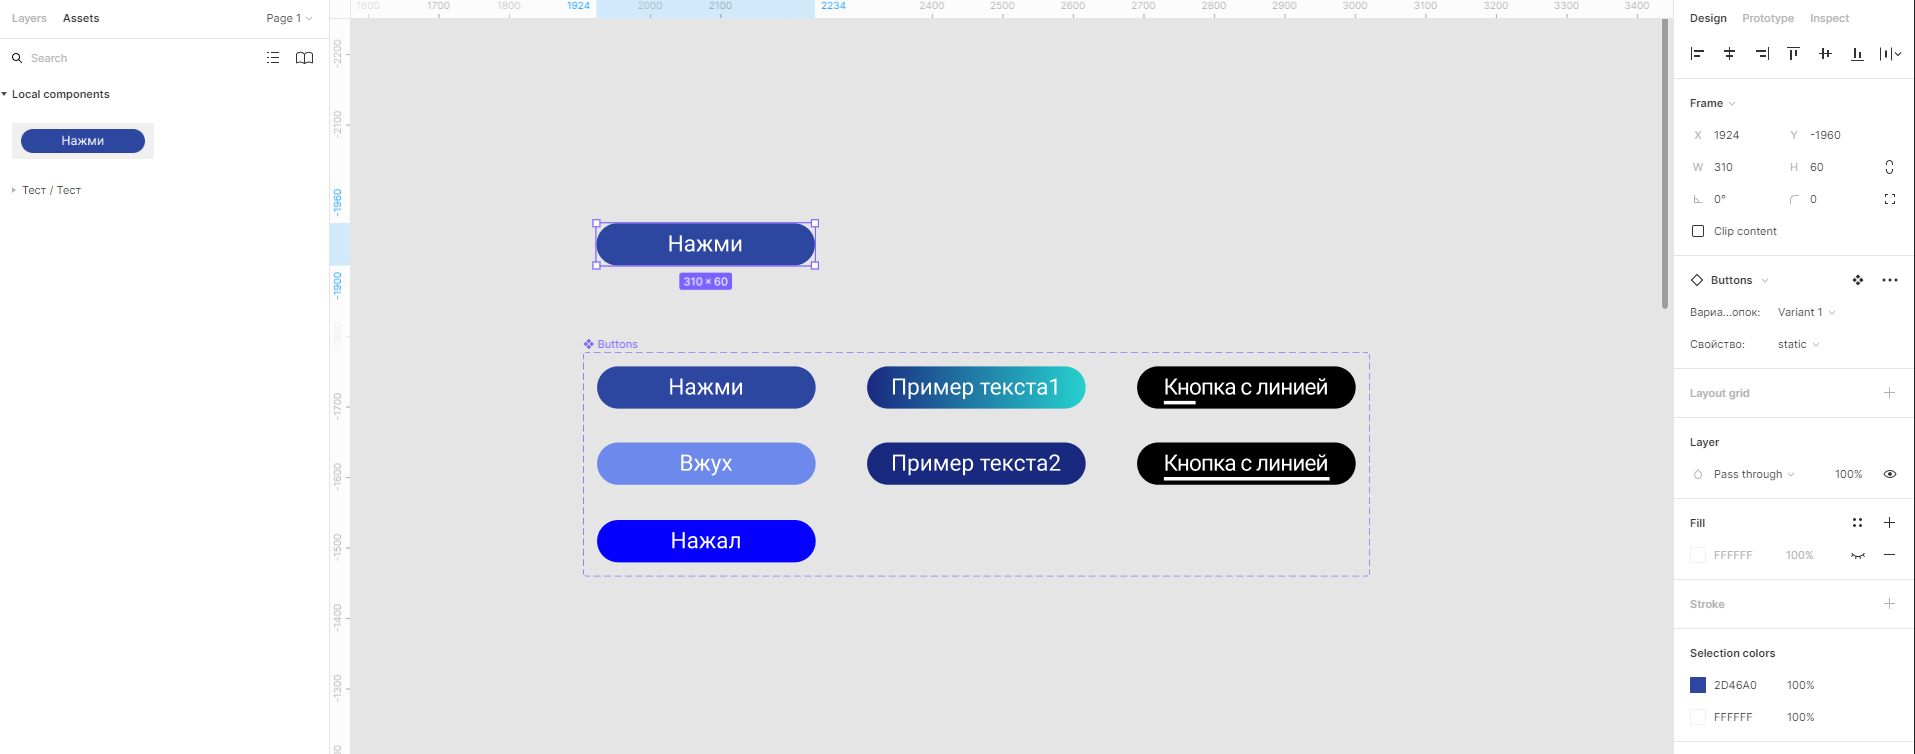
8. We call our button through the Assets panel. And drag it to the workspace.
60b5ee5810594105083060.png
60b5ee5ecce32130367763.png
60b5ee660f68e674608852.png
9. Now in the right panel, we can customize this button as we like.
60b5ef04d53c2453345451.png
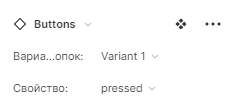
But! As I wrote above, there is an error in creating button options. Since I have pressed only in Variant 1, it will be displayed even if we select Variant 2. And if we are in Variant 2 and press pressed, it will switch us to Variant 1 and put pressed. It is not right! This is mistake! Here, either you need to remove the pressed button option, or add the display of the pressed button to Variant 2 and Variant 3.
60b5f291aabd1909111593.png
60b5f297edd18523703010.png
2) Now we set up the Prototype for buttons
1. We call a few more buttons from the Assets panel (I told you how to do this in paragraph 8 of the previous section). And set the appropriate properties for them in the right panel.
60b5f40b2630a227636947.png
60b5f41041213789382550.png
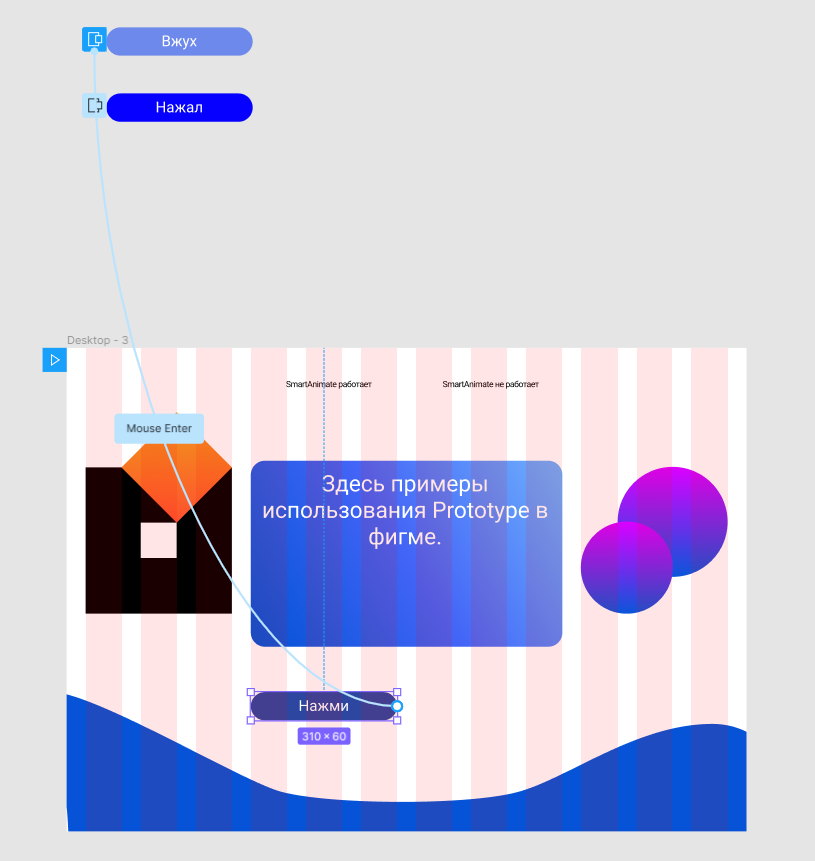
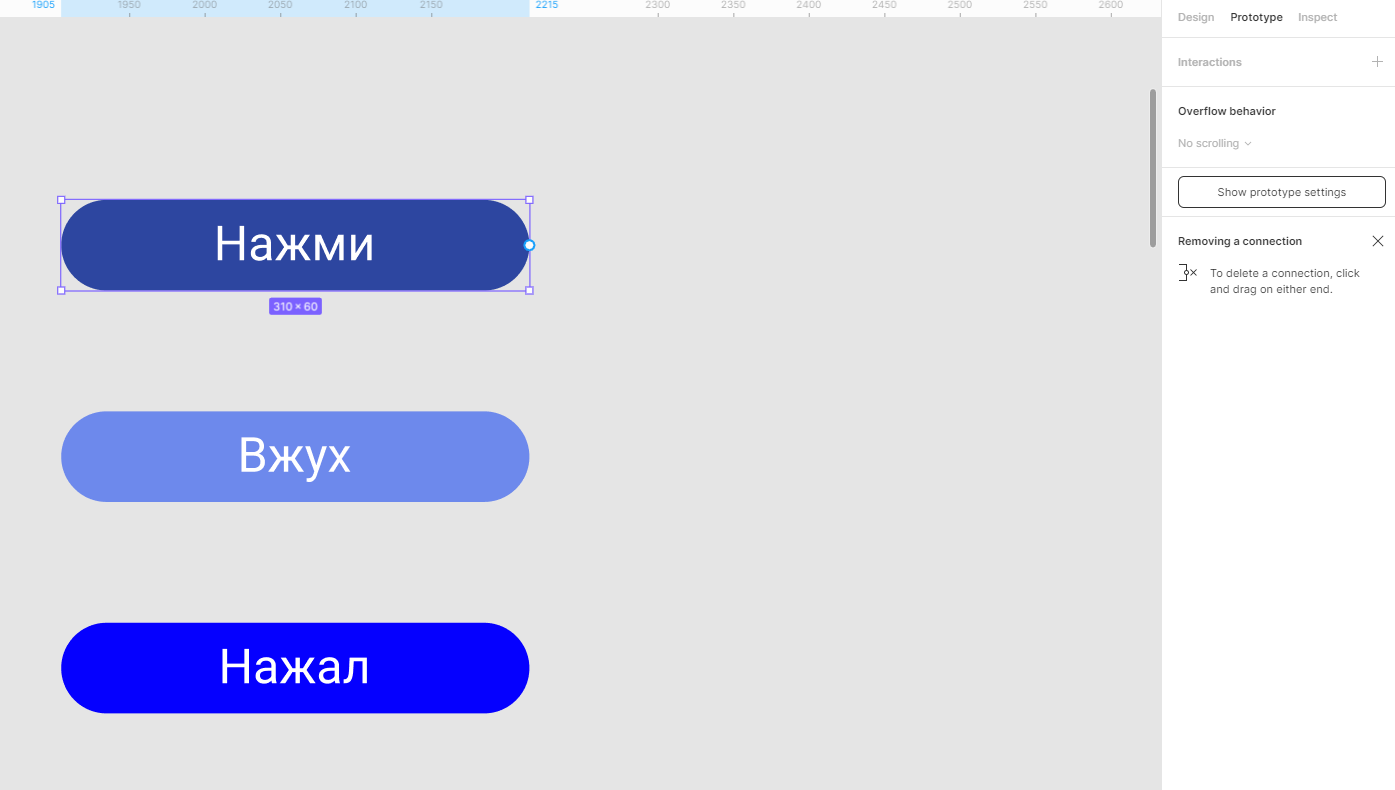
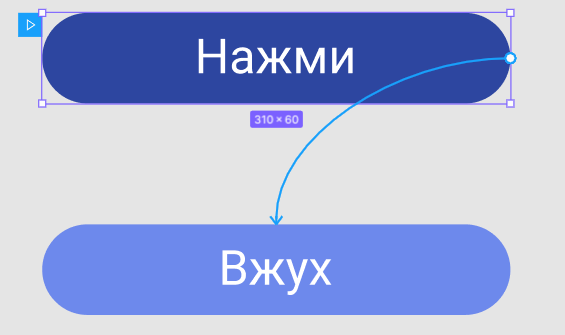
2. Set up what will happen to the button when it is hovered over with the mouse. To do this, I click on the static button and go to the Prototype panel. A circle appears to the right of the button, which, when hovered over, will display a plus sign. Click on this circle and move it to the button with the hover property.
60b5f774dfa41083186742.png
60b5f77b58f31382857654.png
60b5f780d7f15753257367.png
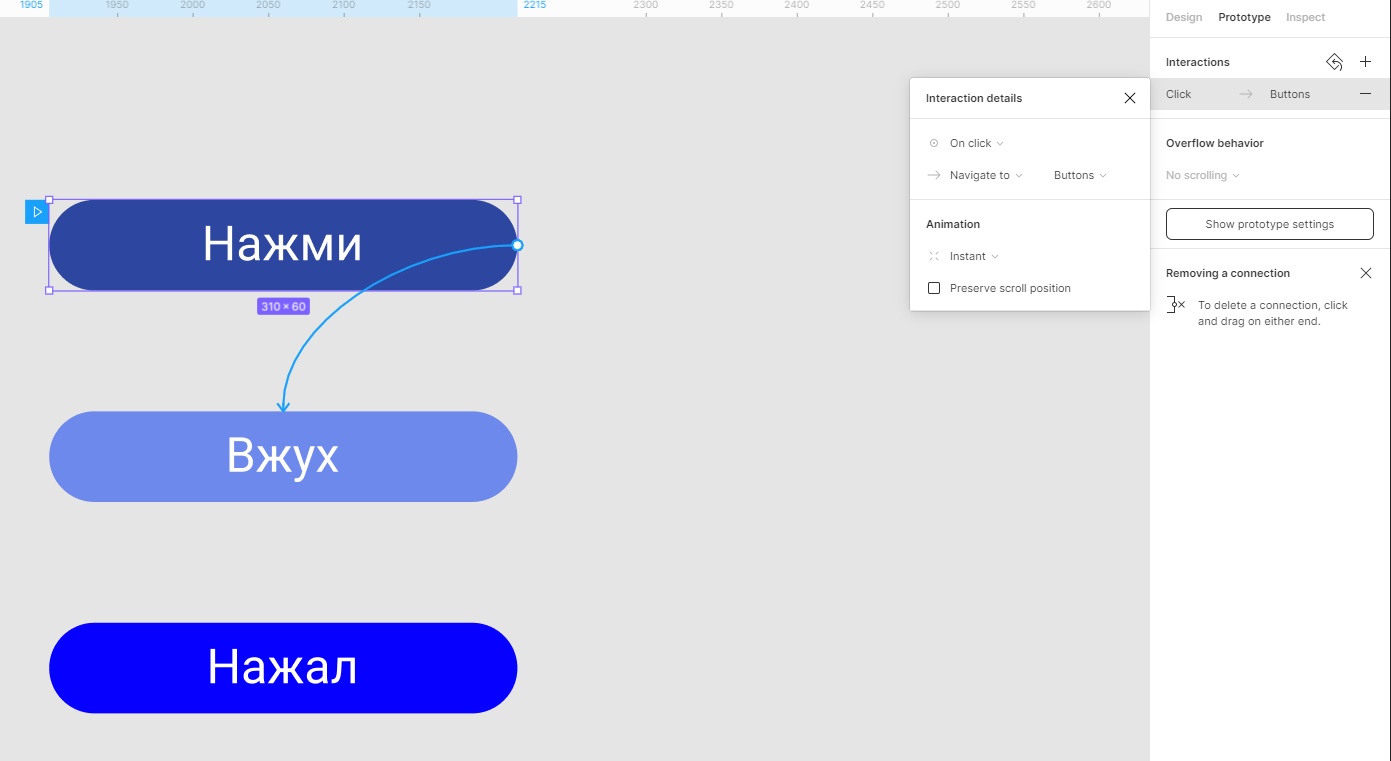
3. We have a small panel on the right in which we will configure that when we hover over static with the mouse, we gradually have a hover.
Now the settings are as follows: On click, navigate to the "Frame Name" (in our case, it will display the name of the group of buttons, i.e. Buttons) with the animation Instantly (Instant).
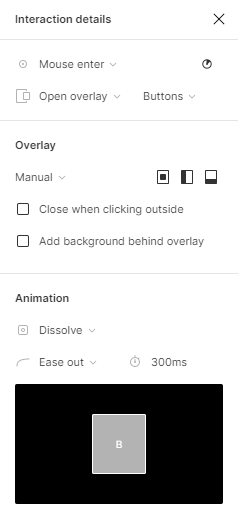
60b5f7fa7e7ee232196132.png
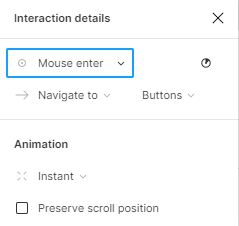
4. Click on On click and change this parameter to Mouse enter (I know that there is a While hovering option (when hovering), but I don’t see a difference in them, so I use Mouse enter (when hovering the mouse)).
60b5faab42c0e655530163.png
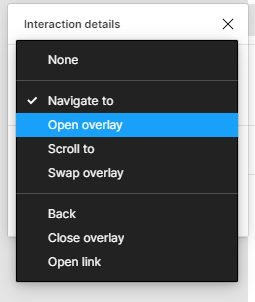
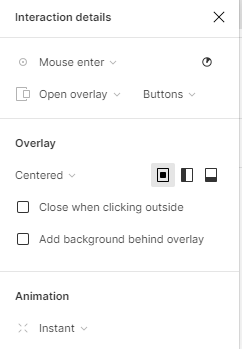
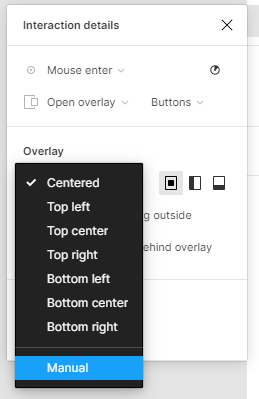
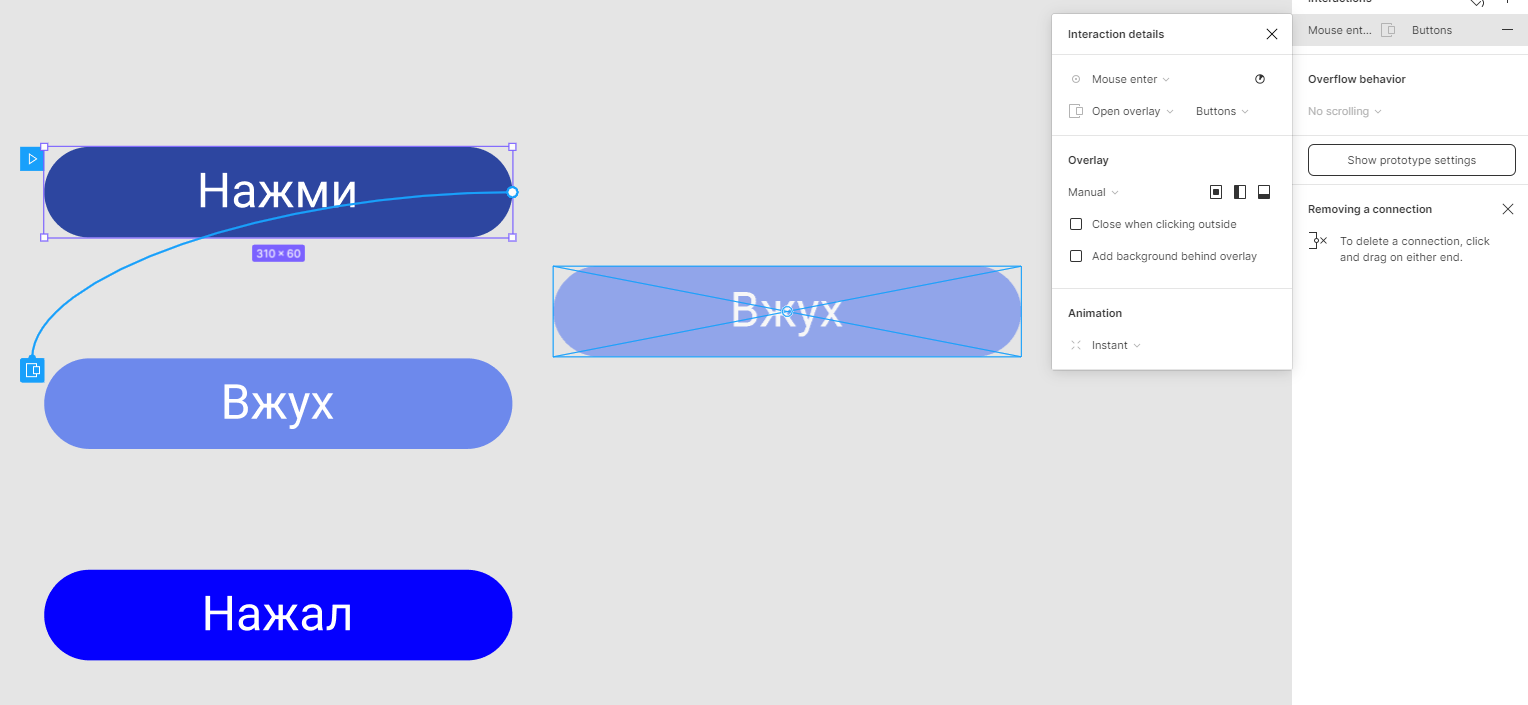
5. Next, click on Navigate to and change to "Open overlay". This is necessary just for the appearance of our hover button. But that's not all, then you need to set where this button overlay will appear. At the moment, I have the setting for the appearance of this overlay in the center of the frame, this is not what we need. Change this parameter to "Manual". This is necessary for more detailed settings for the appearance of the hover button. In our case, I want it to appear in place of static, so after I press "Manual" I will have a hover with a circle in the center and diagonal lines. We take this hover, which is with a circle in the center and drag it to the place of the static button. Thus, we set up the appearance of the hover button in place of static.
60b5fd821d6a4753904980.png
60b5fdab12674493983916.png
60b5fdc817158409744549.png
60b5fe06cc372595354740.png
60b5fe1ae73f8242733894.png
60b5fe235b279835291939.png
6. And instead of animation Instant (Instantly) we put Dissolve (gradually).
60b5ff495a10a108792473.png
60b5ff514755c219907188.png
7. Done. We have set up the first button, now let's move on to setting up the hover button. To do this, click on it to further customize it in the Prototype panel.
60b60086887fc974073604.png
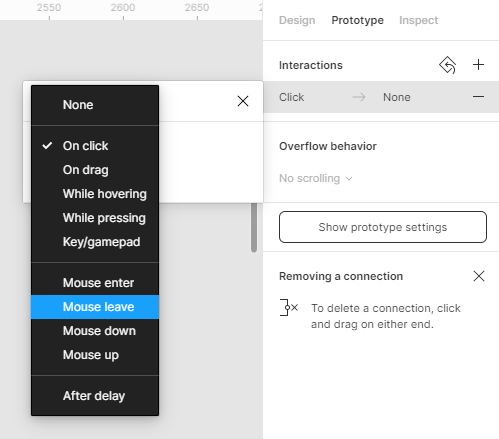
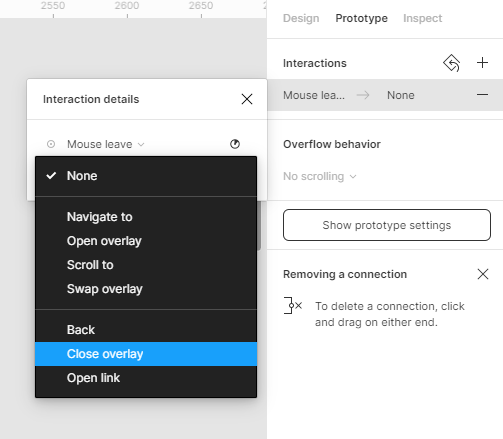
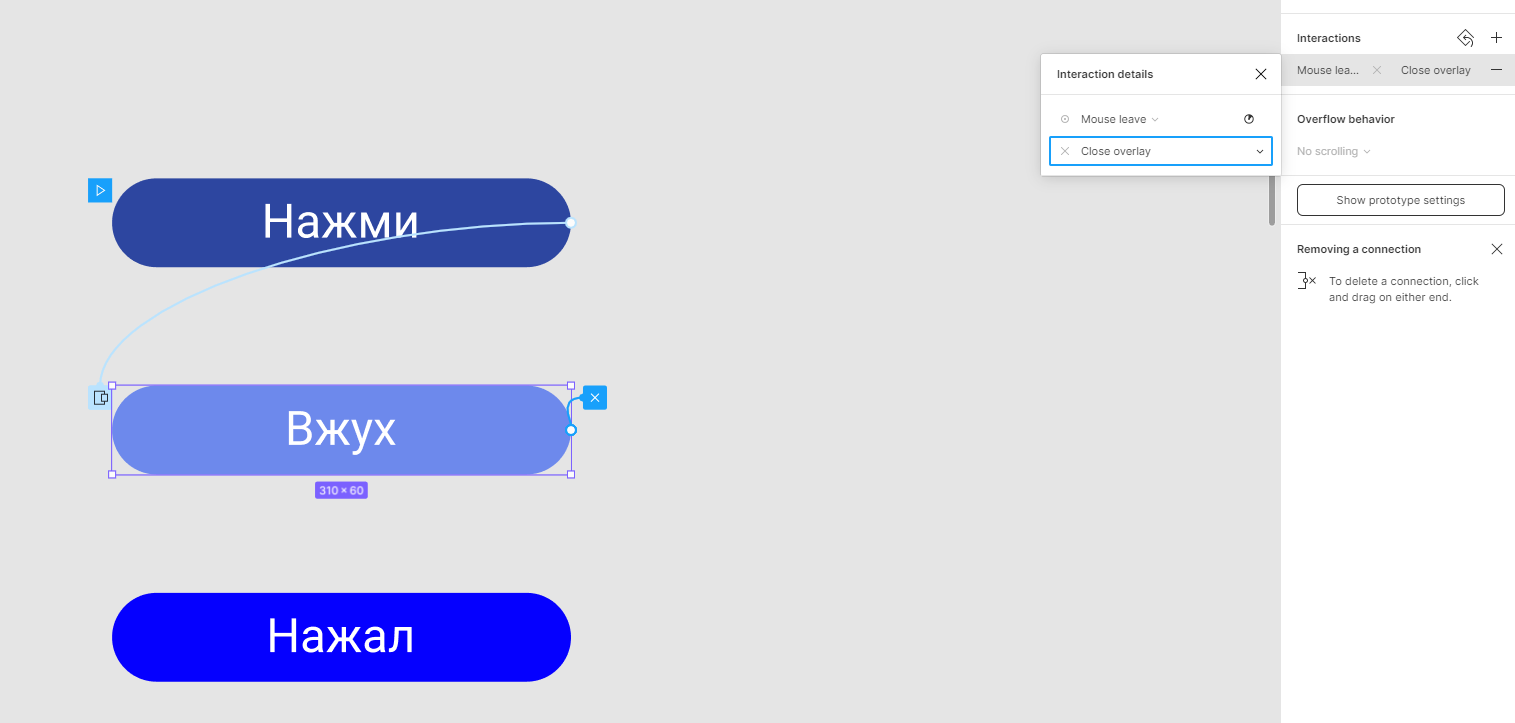
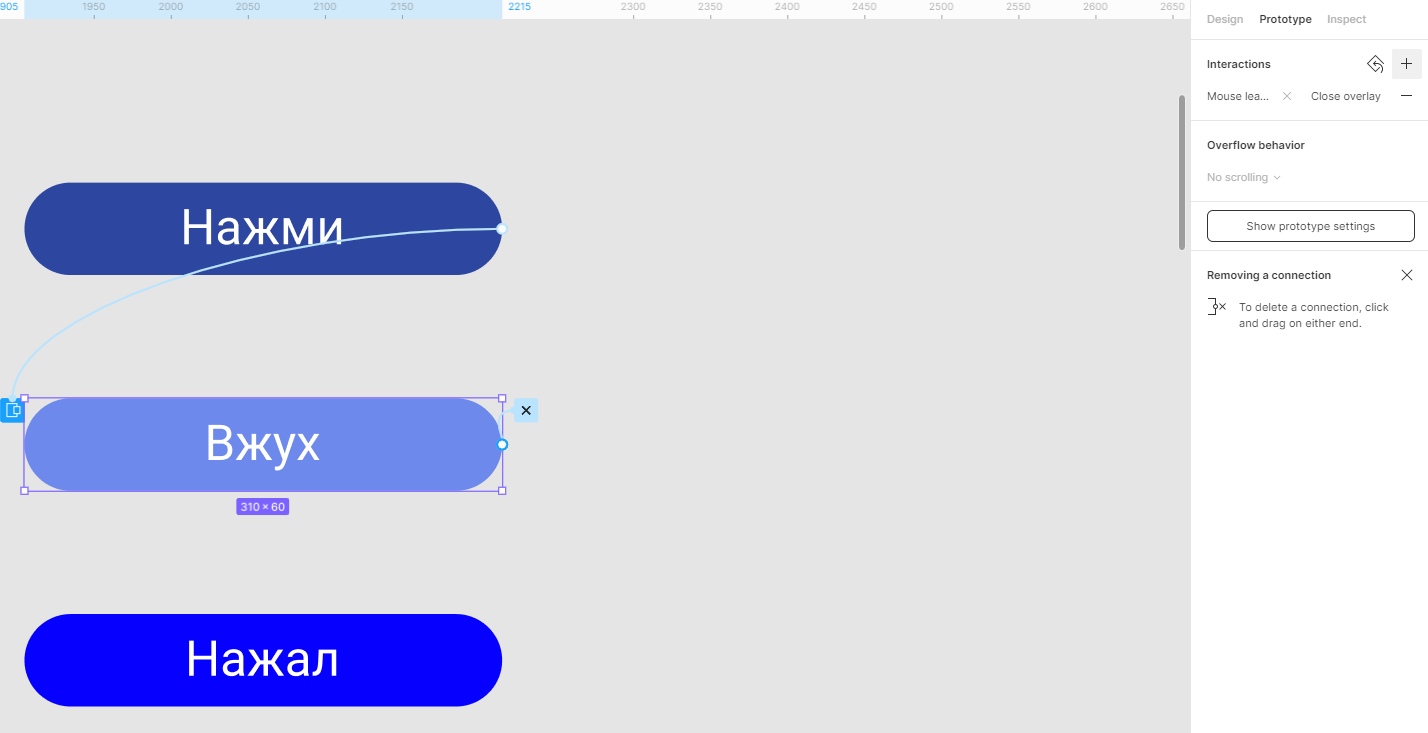
8. The current problem is that if we move the mouse, then static becomes hover, but if we move the mouse away, then we still have hover. Let's fix this now. We click on the plus in the right panel, select the "Click" option and change it to "Mouse leave". And we set the action that will take place, and we need the static to be displayed again, so we set the "Close overlay" parameter instead of "None".
60b602da18b91751217225.png
60b602e23b110686517388.png
60b602f3c1094636591353.png
60b602fbdeb5e317990802.png

Didn't find what you were looking for?

Ask your question

Ask a Question

731 491 924 answers to any question