Answer the question
In order to leave comments, you need to log in
How do I get the HP t410 All-in-One Smart Zero Client to boot from a flash drive?
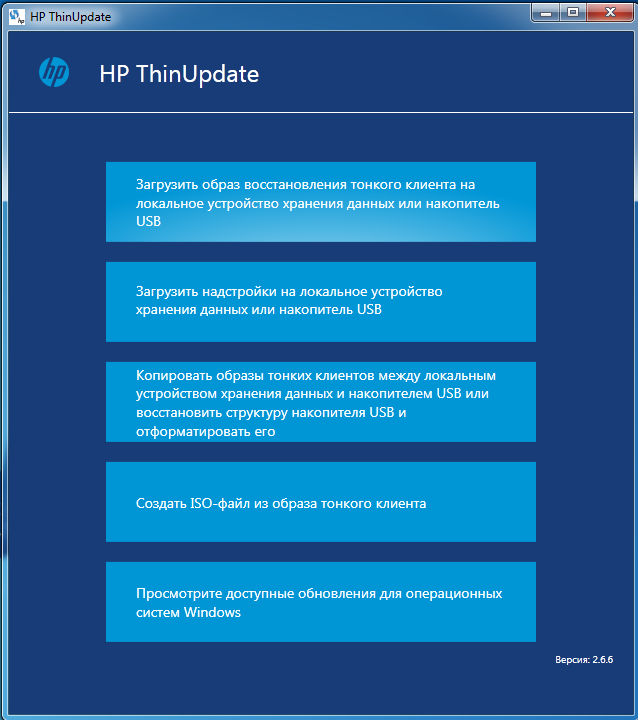
There is a BU thin client - monoblock HP t410 All-in-One Smart Zero Client. It is configured by the previous owner, and the admin mode is password protected. The instructions say that you need to create a bootable flash drive using the HP ThinUpdate proprietary utility (it formats the flash drive itself and writes the desired image), connect it to the client and reboot.
After booting from a flash drive, it will update the built-in OS and reset all settings to default.
With the first client who bought it for testing, everything turned out like that, and when they bought another one, they flatly refused to boot from this flash drive. I tried to create a flash drive on a new one, formatted it with the hpusbfw.exe utility before creating it, took a couple of other flash drives, but all in vain, the client stubbornly loads with ready-made settings.
Who came across the HP t410 or the like, maybe you need to somehow mark the flash drive in a special way?
Answer the question
In order to leave comments, you need to log in
I still haven’t figured out why the flash drive created by the native utility can’t cope (although it helped the first time), maybe it’s broken, or maybe the Moon is in the wrong constellation, but I found two ways to reset thin clients from HP
HP t410 Smart Zero Client support recovery mode, for To do this, you need to turn it off programmatically by holding the touch power button or by selecting the “Poweroff” item with the mouse, then connect the USB flash drive and turn it on by double-clicking on the power button.
Unfortunately, a flash drive created using HP ThinUpdate is not suitable, so here is my recipe:
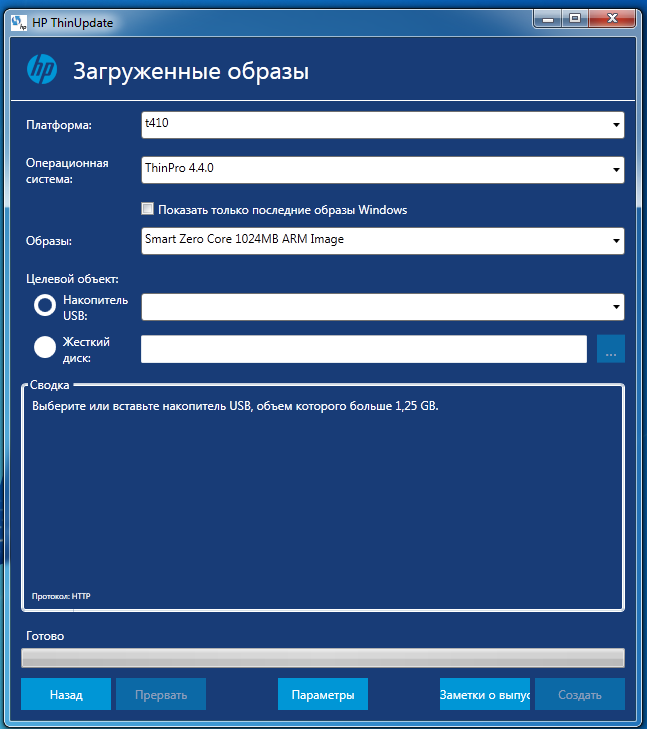
1) Create a flash drive using the HP ThinUpdate utility
2) Copy the images folder with the OS image in it to the computer (images\Z6A43201.dd.gz or images\Z6A44019. dd.gz depending on the chosen version)
3) Create a flash drive with a u-boot bootloader
4) Drop the previously copied image onto the bootable flash drive into the images folder, you can also download it separately from the HP ftp server and upload several images to this folder
5) Plug the thin client into the socket, wait for it to boot and turn off programmatically
6) Connect the flash drive
7) Tap twice on the power button (with about a second interval). If the client gave out several signals with the speaker, then the bootloader on the flash drive is not suitable. And if everything is OK, then you will see the following picture:
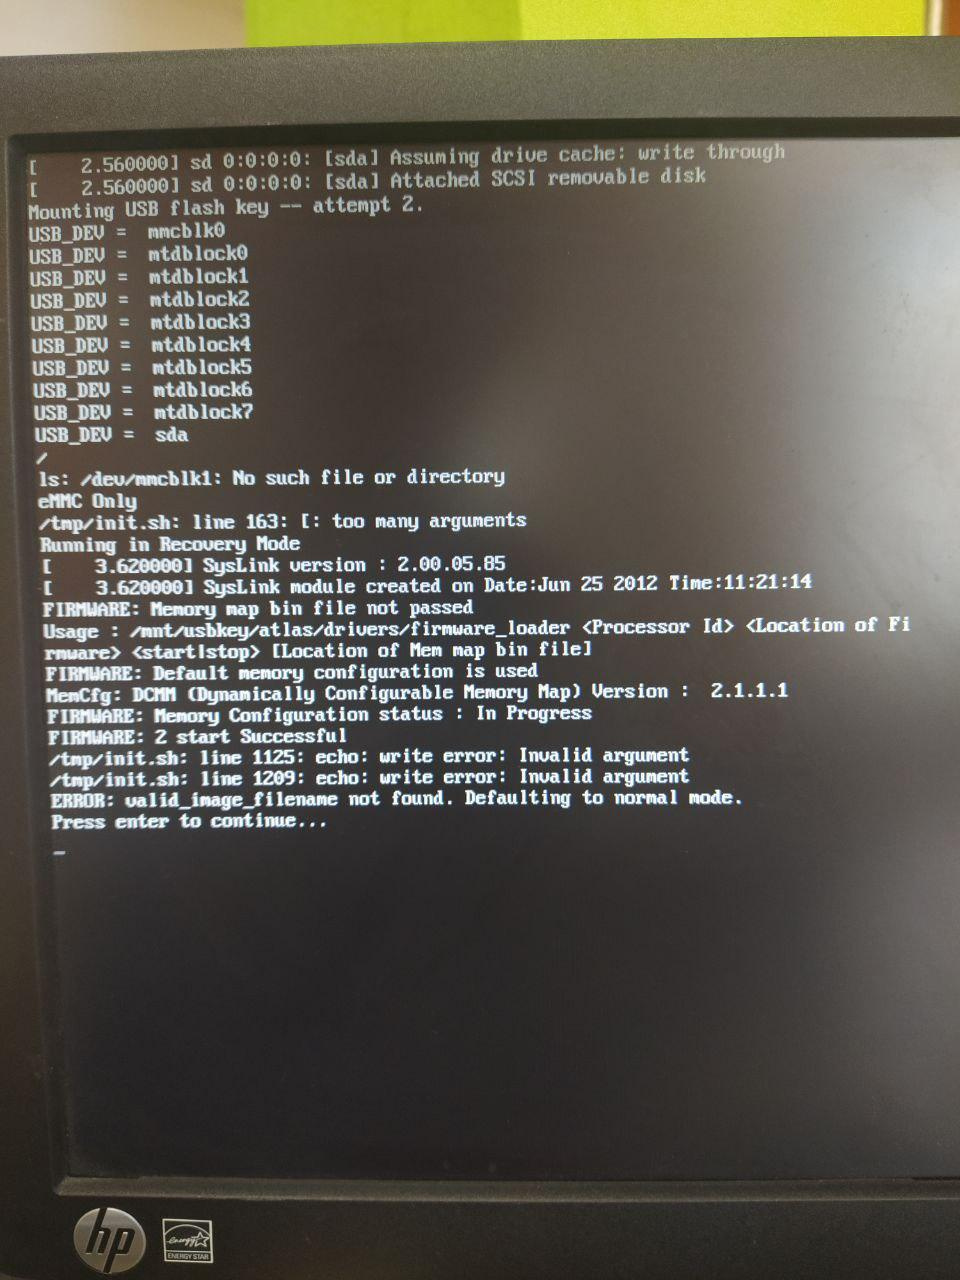
8) Press enter to continue
9) Enter from the keyboard 1 to load the image into the Thin Client
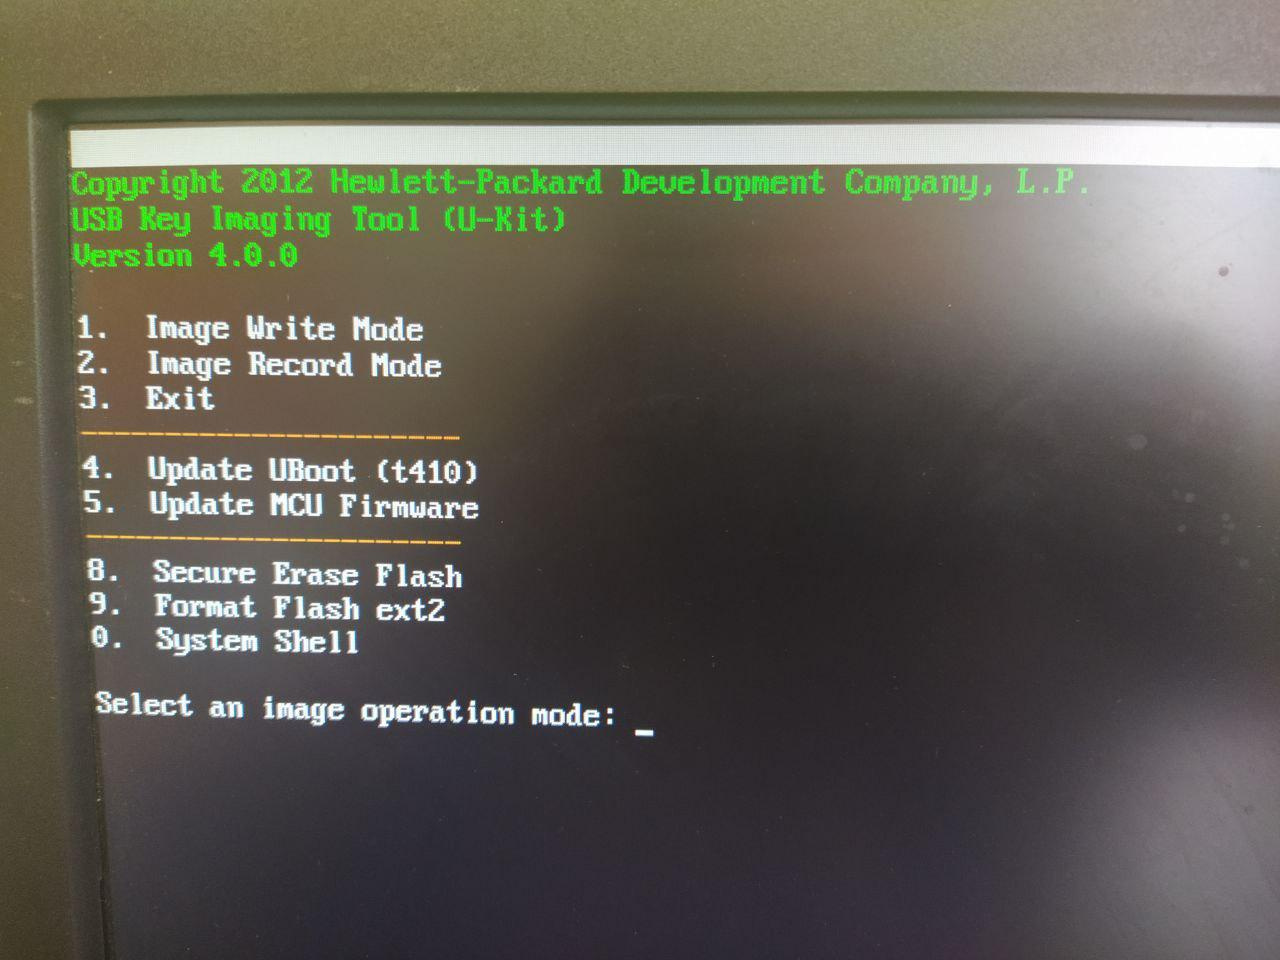
10) Select the required image, if there are several of them by pressing the corresponding number “1” and agree to overwrite the OS image by entering "Y"
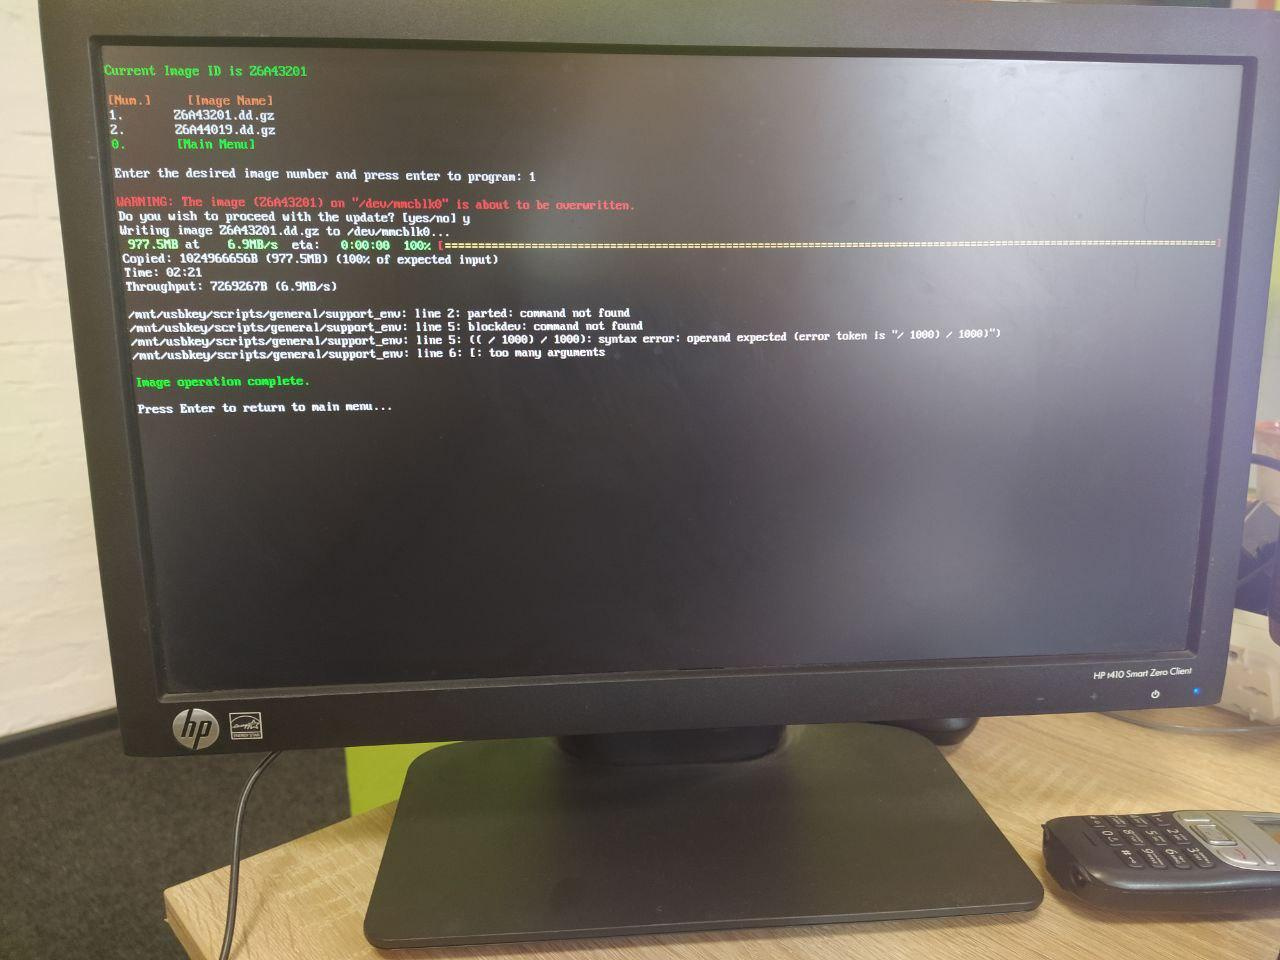
11) When the process of loading the image is completed, press “Enter”, and then “3”.
We take out the flash drive and press “Enter” again
12) The device reboots and we see the window for selecting the connection to the
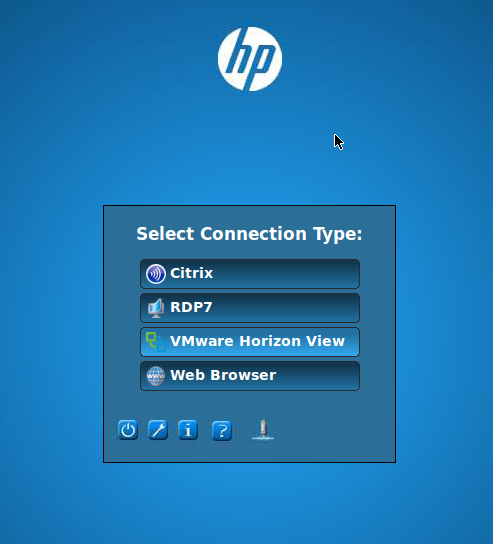
PROFIT server!
This method is suitable even when the embedded OS is down and the client does not boot at all.
PS The correct flash drive turned out quite by accident, but that's a completely different story, so here's the finished version (just unpack the archive to a USB flash drive, it already has the images you need for t410).
The second way:
1) We raise the server for HP Automatic Update Server:
Install HP Smart Client Service
Before starting the installation, you need to make sure that the components are installed:
Internet Information Service (IIS)
.NET Framework 3.5
Turn on auto-update in the client profile
In the folder C:\Program Files (x86)\Hewlett-Packard\HP Smart Client Service\auto-update\t410\Image we throw one of the images
2) Add to settings of your DHCP server parameter that passes to thin clients the address of the auto-update server using option 137 (by default: auto-update.domain.local:18287/auto-update ).
For example, on Mikrotik it is done like this:
/ip dhcp-server option
add code=137 name="hp auto-update" value=\
    "'http://192.168.88.100:18287/auto-update'"
/ip dhcp-server option sets
add name=set1 options="hp auto-update"Thank you. I needed your answer. Same story as yours. But the only thing is that after downloading your archive to a formatted USB flash drive, nothing worked. After changing 2 flash drives, it started working. I still didn't understand what the problem was. Final solution: format the USB flash drive and simply upload the files from the graf_Alibert archive. Next, turn off the thin client, and turn it on by double-clicking with a delay of 1 second.
Didn't find what you were looking for?
Ask your questionAsk a Question
731 491 924 answers to any question